How to Clean Headlights
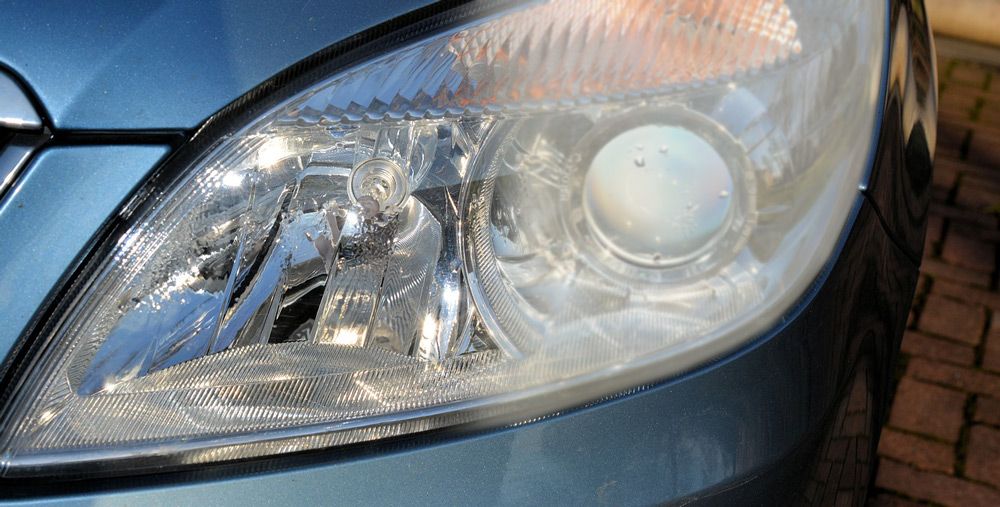
Clear headlights are essential for safe driving, especially at night or during poor weather conditions. Over time, however, they can become cloudy or have an appearance like fog, haze, yellowed, or dirty, reducing their effectiveness. Fortunately, cleaning your headlights is a straightforward process you can do at home with minimal tools and effort. Here's a comprehensive guide to help you restore your headlights to their original clarity.
Why Do Headlights Get Cloudy?
Headlights are typically made of polycarbonateplastic instead of glass headlights, which were phased out starting around 1980, which is durable but prone to damage from exposure to sunlight, dirt, and chemicals. Over time, UV rays from the sun can cause the protective coating on the headlights to degrade, leading to oxidation. Additionally, road debris, dust, grime, and water stains can contribute to your headlights' fog/cloudy or yellowed appearance.
What You'll Need:
- Microfiber cloths
- Mild soap or car wash detergent
- Sponge
- Water
- Masking tape
- Sandpaper (grits: 800, 1,000, 2,000)
- Plastic polish or headlight restoration kit
- UV-resistant clear coat (optional)
Optional items:
- Toothpaste (as an alternative cleaner)
- Baking soda and water paste
- Drill with a polishing attachment
Step-by-Step Cleaning Process
1. Preparation
Before you start, park your vehicle in a shaded area to avoid cleaning in direct sunlight. Doing so will prevent the cleaning solutions from drying too quickly and leaving streaks. Ensure your vehicle is off and the headlights are cool to the touch.
2. Clean the Surface
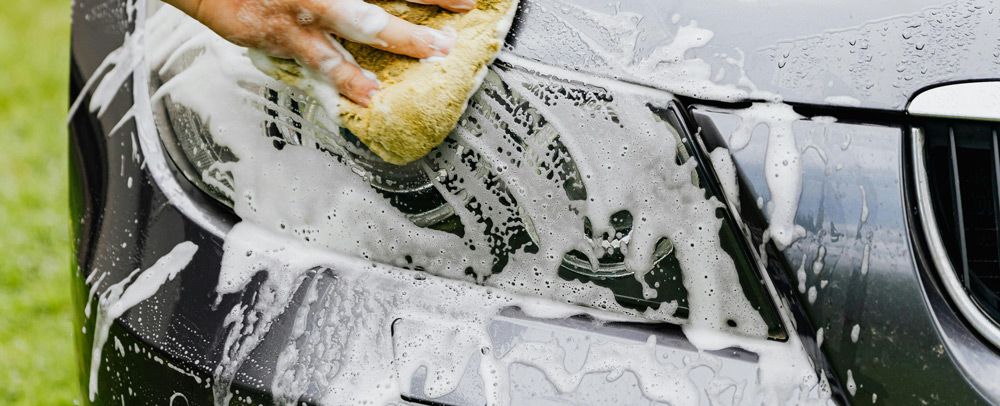
Wash the headlights thoroughly using mild soap or car wash detergent, sponge and water. Use a microfiber cloth to remove dirt, bugs, and grime from the surface. If you have dried on, harder to clean areas, a soft bristled brush can be used. Rinse and dry thoroughly.
3. Mask Around the Headlights
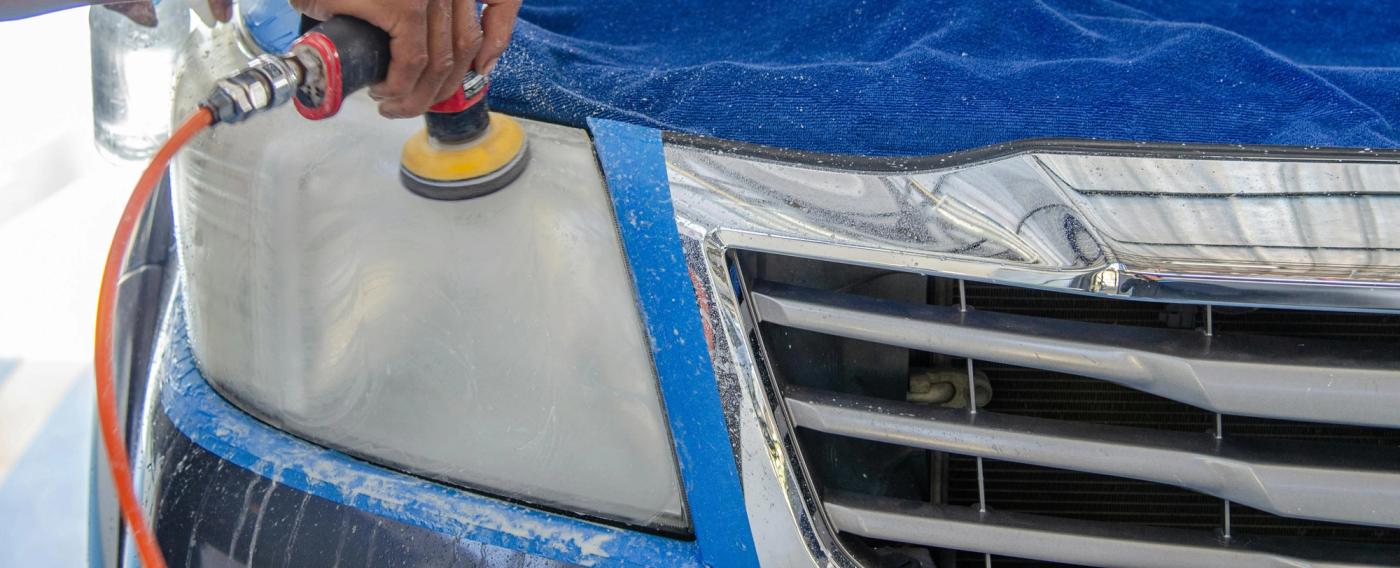
Use masking tape to protect the paint and trim around the headlights and ensure you don't accidentally damage the surrounding areas of the vehicle during the cleaning process. Having your vehiclepaint redone or touched up, can be expensive, spending a little extra time on this step will be worth the effort.
4. Remove Oxidation (Sanding)
If your headlights are severely oxidized, you'll need to sand them. Follow these steps:
- Wet the surface of the headlight with water.
- Start with 800-grit sandpaper and sand the headlight in a horizontal motion. Keep the surface wet throughout the process, a damp sponge could help.
- Move to 1,000-grit sandpaper and sand in a vertical motion.
- Finish with 2,000-grit sandpaper, sanding in circular motions for a smooth surface.
- Wipe the headlight clean with a damp cloth after sanding.
Starting with a sandpaper that is a lower grit than recommended can cause gouging in the polycarbonate. Be careful to not use something that is too abrasive, this can include any cleanser like comet or ajax. It's at this point that you should no longer see the haze of the headlight, it should appear clear.
5. Polish the Headlights
Apply a plastic polish or the polishing compound in a headlight restoration kit to a microfiber cloth or polishing pad. Rub the polish onto the headlight in small, circular motions. For best results, use a drill with a polishing attachment.
6. Apply a Protective Coating
To prevent future oxidation, apply a UV-resistant clear coat to the headlights. Follow the instructions on the product for proper application. This step will help maintain the clarity of your headlights for a longer time.
7. Final Cleaning
Wipe down the headlights with a clean microfiber cloth to remove any residue. Inspect your work to ensure the headlights are clear and free of streaks.
Alternative Cleaning Methods
Toothpaste Method
Toothpaste contains mild abrasives that can clean and polish your headlights. Apply a small amount of toothpaste to a damp cloth and rub it onto the headlights in circular motions. Rinse and dry thoroughly with a towel, we recommend our Platinum Quick Dry Towels.
Baking Soda and Water
Mix baking soda and water to form a paste. Apply the paste to the headlights using a microfiber cloth, rubbing in circular motions. Rinse and dry thoroughly.
Insect Repellent
We have seen this as a suggested method to cleaning your headlights, however we do not recommend this method, especially if not done in a ventilated area, and without the proper protective equipment like a respirator.
Maintenance Tips
- Wash your headlights regularly as part of your car maintenance routine.
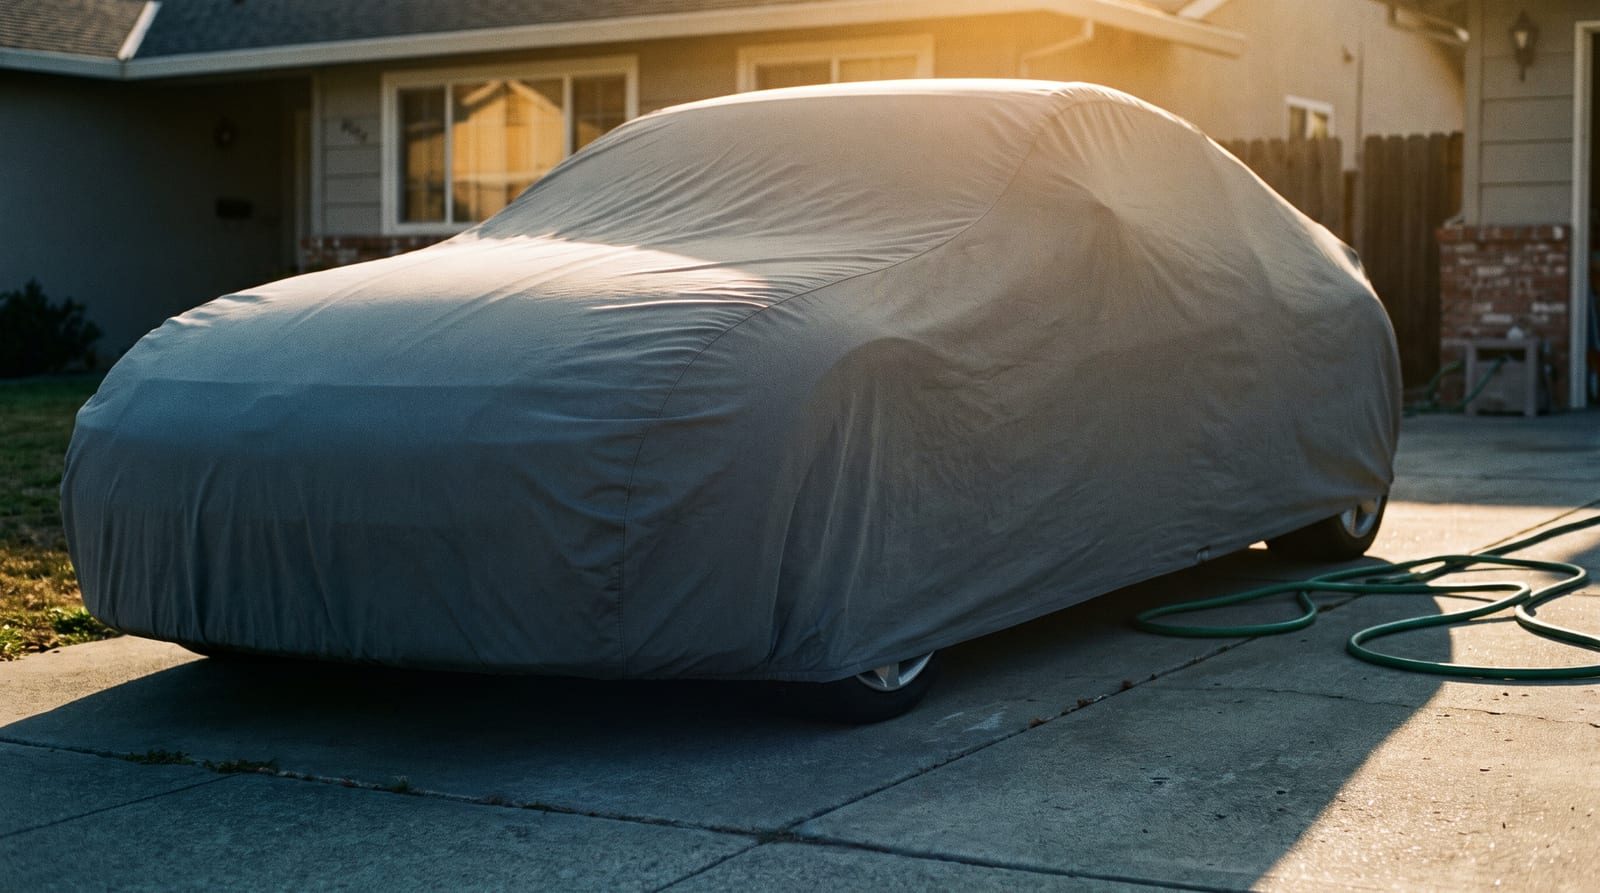
- Avoid parking in direct sunlight for extended periods to reduce UV damage. If you are unable to avoid parking in direct sunlight, the use of a car cover is recommended. The less direct sunlight the headlights are subject to, the longer it will take for the headlights to oxidize.
- Reapply a UV coating every few months to protect against oxidation.
Cleaning your headlights is an effective way to improve your vehicle's appearance and safety. Regular cleaning and maintenance will keep your headlights clear and bright whether you opt for a professional-grade headlight restoration kit or a DIY method using household items. Follow this guide to restore your headlights and ensure better visibility on the road.