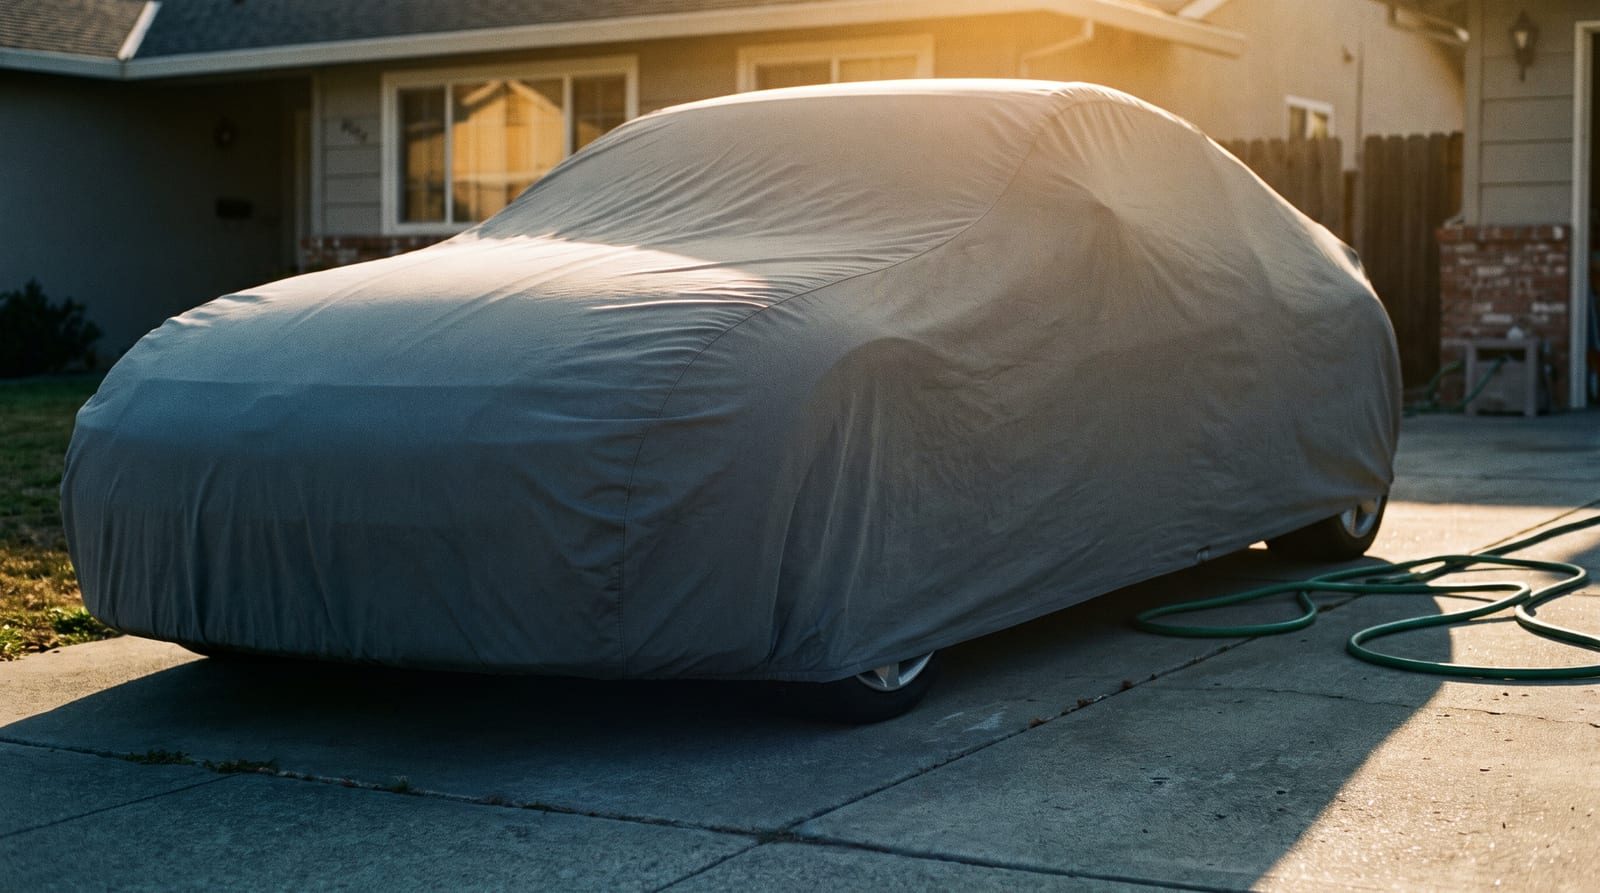
How to Dry a Car Cover the Right Way (Step-by-Step Guide)
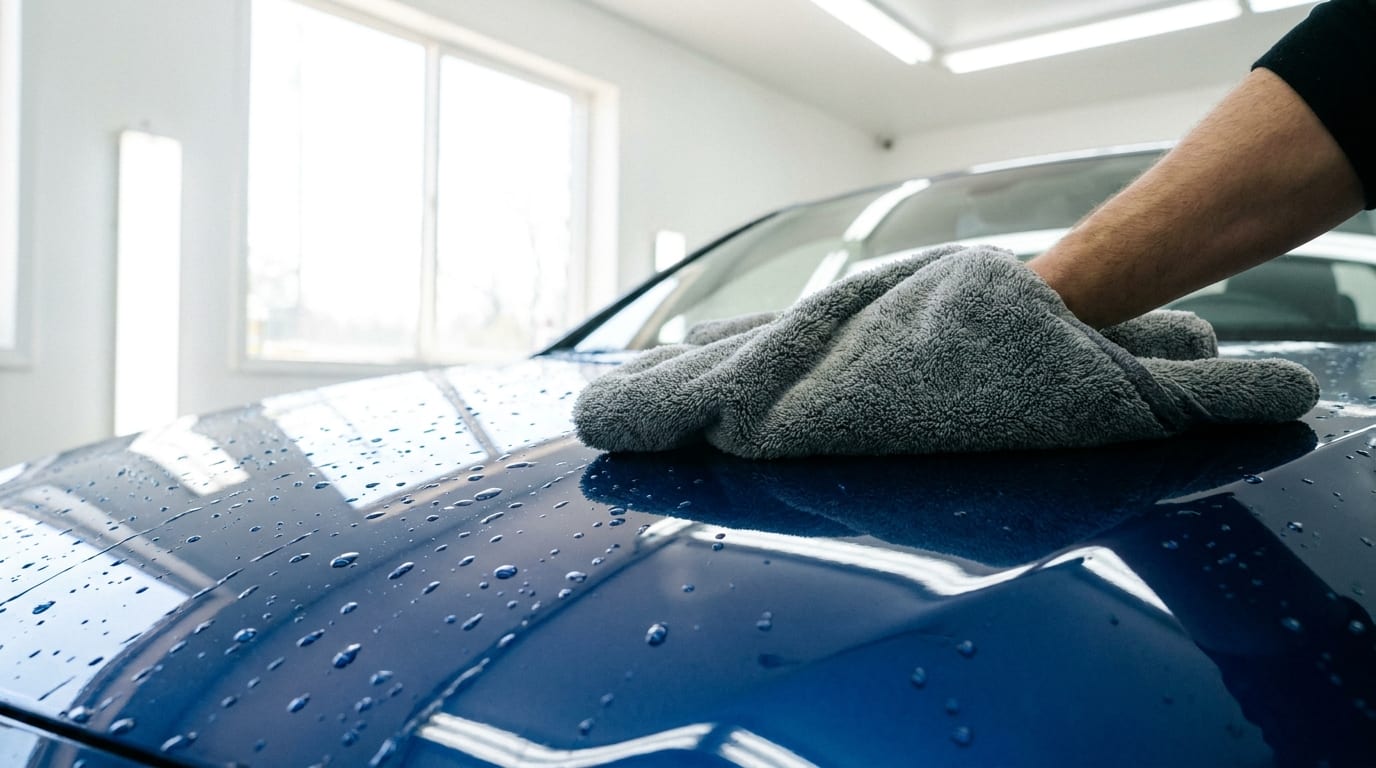
A wet car cover left folded on a shelf is basically a science experiment waiting to happen. If you've ever pulled a cover out of storage and caught that sour, musty smell, you already know how fast things go wrong. Knowing how to dry a car cover properly, before you fold it, bag it, or toss it in the trunk, is the difference between a cover that lasts for years and one that's growing mildew by next weekend.
Why Drying Your Car Cover Properly Matters
Here's the uncomfortable truth: mold and mildew don't need much time. Trap a damp cover against your paint, and you're looking at musty odors and mildew spots within 24 to 48 hours. That's not a worst-case scenario, that's just what moisture does when it's sealed against fabric with no airflow.
It's not only about smell, either. Breathable outdoor fabrics rely on open weave structures to let vapor escape, and repeated soaking without proper drying breaks that down over time. Waterproof coatings take a hit too, weakening at the seams where moisture lingers longest. A lot of covers that "wear out early" haven't actually failed because of bad materials. They failed because nobody let them dry right, and that kind of damage can even bump up against warranty terms that assume reasonable care.
None of this requires special equipment or a lot of time. Learning how to dry a car cover is a five-minute habit you build into your wash routine, and once it's a habit, you stop thinking about it.
What You'll Need Before You Start
You don't need much. A clean flat surface, a drying rack, or a clothesline works fine. Sawhorses do the job too if that's what you've got lying around in the garage. Grab a microfiber towel for blotting, and if you're drying outdoors, find some shade.
Speaking of shade: skip direct sun for extended periods if your cover has a UV-reflective or satin finish. That kind of coating is exactly what protects your paint from sun damage in the first place, and baking it for hours during the drying process undoes some of that benefit.
Indoor satin covers dry fine inside, no fuss, no special setup. Outdoor covers can handle a short stretch of open air outside, but don't leave them baking on the driveway all afternoon. The material matters here. A waterproof outdoor cover and an indoor satin cover aren't built the same way, so treat their drying needs as slightly different, not identical.
How to Dry a Car Cover: Step-by-Step
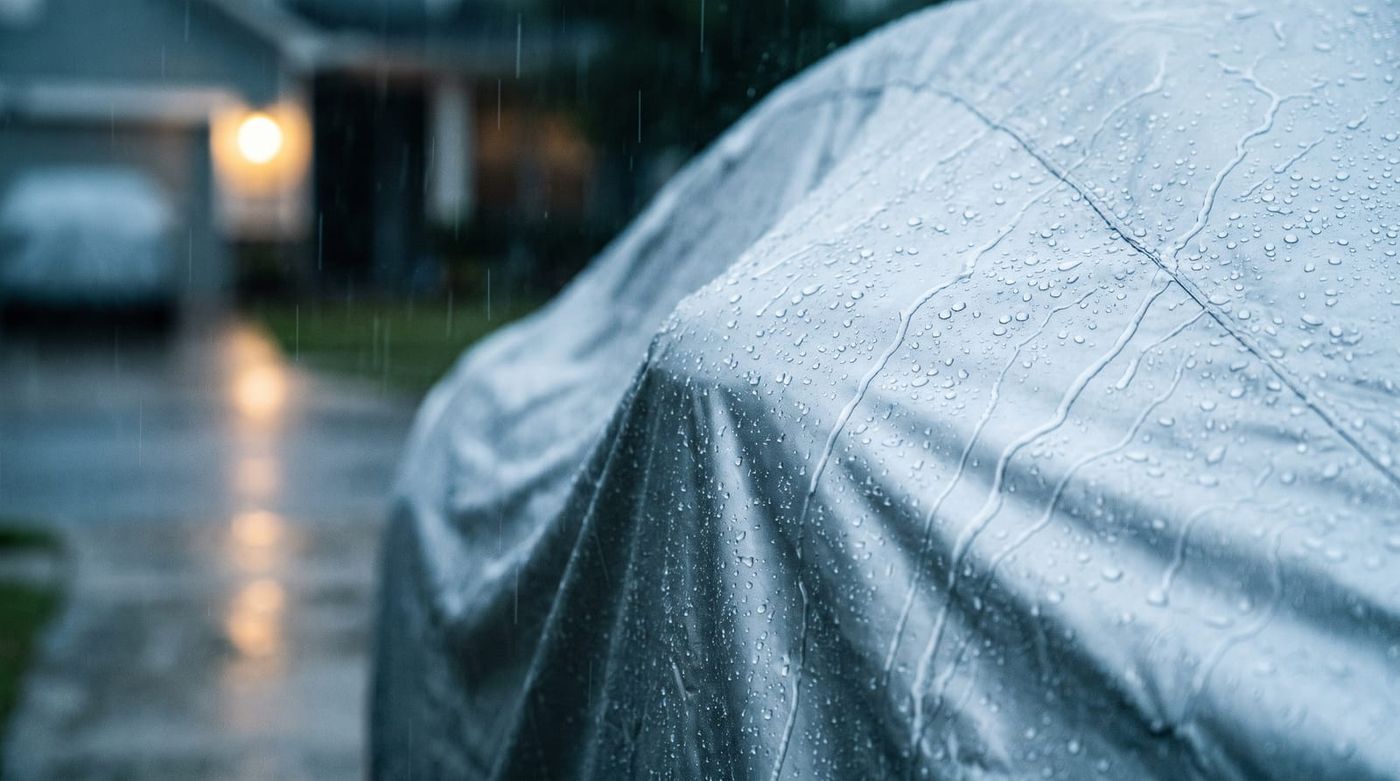
Here's the actual process, start to finish.
Step 1: Shake it out. The moment you take the cover off the car or pull it out of the wash, give it a good shake. This gets rid of the excess water sitting on the surface before it has a chance to soak in further.
Step 2: Lay it flat, or drape it. Use a clean surface, a rack, sawhorses, or a clothesline. Whatever you choose, don't bunch it up. Bunched fabric traps moisture in the folds, and that's exactly what you're trying to avoid.
Step 3: Blot the soaked spots. Hems, seams, and grommets hold water longer than open fabric. Pat them down with a microfiber towel to speed things along.
Step 4: Find shade, not sun. A shaded, well-ventilated spot beats direct sunlight every time. A few hours in the shade protects UV coatings and keeps elastic hems from getting brittle.
Step 5: Flip it halfway through. The underside dries slower than the top. Flip the cover partway through the process so both sides, and the surface underneath, get equal airflow.
Step 6: Check the trouble spots last. Seams, elastic edges, and grommets are always the last things to dry. Don't assume the cover's done just because the main fabric feels dry, check these areas specifically.
Step 7: Confirm it's bone dry before storing. Touch test the whole thing, including the underside. If there's any dampness at all, give it more time. This is the step people skip, and it's the one that matters most.
That's the full rundown for how to dry a car cover the right way, and once you've done it a couple times, it stops feeling like a chore.
Quick Drying Checklist (Video-Style Walkthrough)
If you're the type who skips the full explanation and just wants the list, here it is:
- Shake out excess water
- Drape it flat, never bunched
- Move it to shade with good airflow
- Flip halfway through
- Check seams, grommets, and elastic edges last
- Confirm it's fully dry, top and underside, before storing
Do this:
- Dry in a shaded, ventilated spot
- Flip the cover partway through
- Check grommets and seams before folding
Avoid this:
- Don't use a machine dryer
- Don't fold or bag it while even slightly damp
- Don't leave it in direct, hot sun for hours
Most covers fully air-dry within 2 to 6 hours, depending on the material and the weather. Humid day? Lean toward the longer end. Dry, breezy afternoon? You'll probably be done closer to two hours.
Common Drying Mistakes to Avoid
The dryer is the big one. Tossing a wet cover in a machine dryer feels like a shortcut, but heat like that can shrink the fabric or straight-up melt reflective and UV coatings. It's not worth the ten minutes it saves you.
Folding while damp is the second most common mistake, and it's sneaky because the cover can feel "mostly dry" while still holding enough moisture to cause problems. Even a little dampness sealed inside a fold is enough to start mildew growth within a day or two.
Related to that: don't leave a wet cover balled up in a trunk or storage bag overnight, thinking you'll deal with it tomorrow. Tomorrow's often too late. That cover's already started developing the musty smell you'll be trying to wash out later.
And don't ignore the grommets and seams. These spots hold water the longest, which is exactly why mold shows up there first. If you're rushing through the drying process and skipping the detail check, these are the areas that'll bite you. For a deeper look at removing buildup before it sets in, our guide on how to clean a car cover covers the wash side of this same maintenance routine.
Storing Your Cover After It's Dry
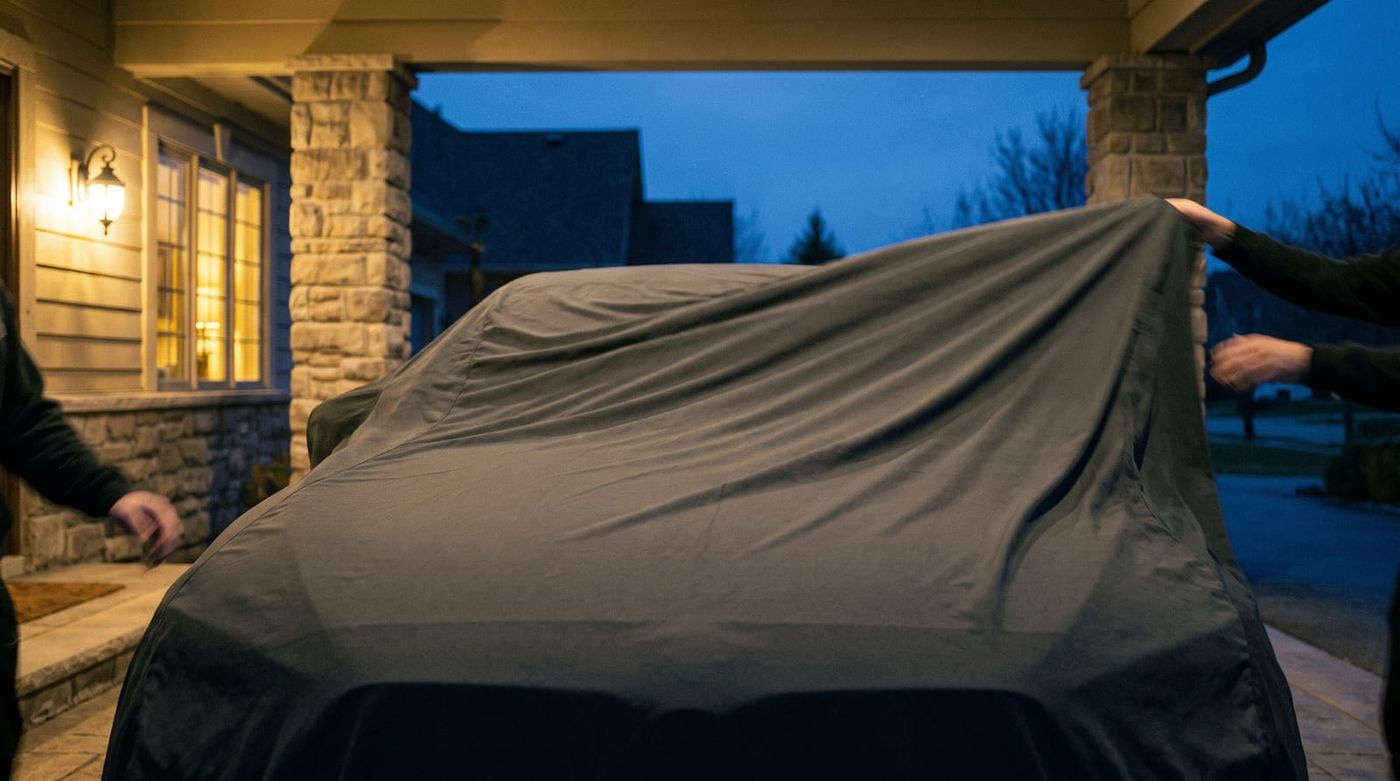
Once it's fully dry, fold it loosely and use a breathable storage bag, not a sealed plastic bin. Plastic traps whatever residual humidity is in the air around the cover, which defeats the purpose of drying it carefully in the first place.
A cool, dry closet shelf or garage shelf works well. A damp basement or a hot trunk doesn't, both extremes cause their own problems over time. This matters whether you're storing a heavy-duty outdoor cover or a lightweight indoor satin one. For more on this specific step, see our guide to properly storing your car cover when it's not in use.
Drying and storage aren't separate chores, really. They're two halves of the same maintenance habit, and skipping one undoes the other. Pair this with routine car cover cleaning and you've got a system that actually protects your investment instead of just delaying the inevitable replacement.
If you use your cover outdoors regularly, it's worth reading up on using a car cover outdoors against wind, UV, and rain, since exposure conditions affect how often you'll be going through this drying process. And if yours lives indoors most of the time, our indoor car cover guide walks through the specifics for that setup.
Keep Your Car Cover in Top Shape
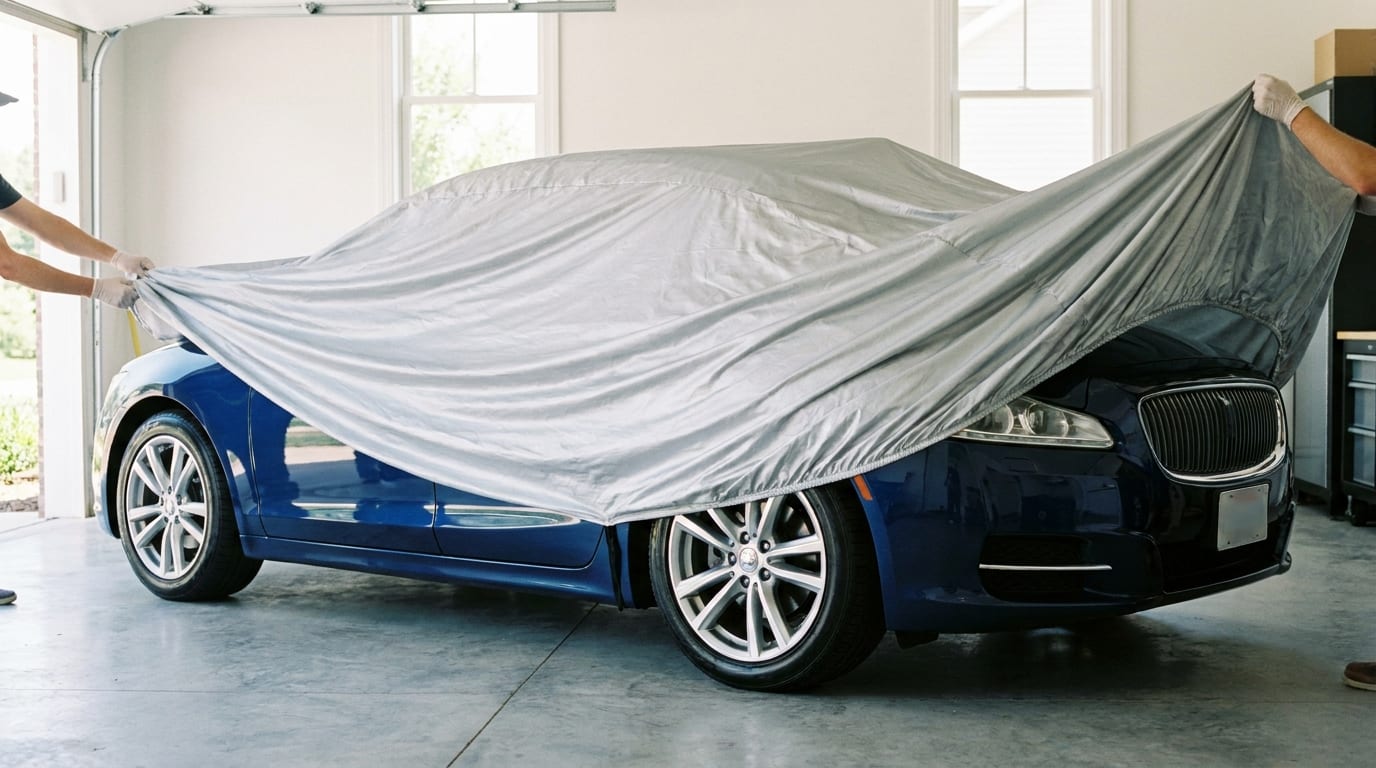
The whole process comes down to six words: shake, drape, shade, flip, check, store. Do that every time, and you'll never deal with a musty, mildew-spotted cover again.
Pair proper drying with regular cleaning, and you'll get years more life out of whatever cover you're using now. If yours is already past saving, or you're just due for an upgrade, it's worth browsing CarCovers' outdoor and indoor options to find something built for how you actually store your vehicle.
A few extra minutes of care now beats a moldy cover and an early replacement later. Take the time to dry it right, and it'll keep doing its job for a long time to come.