Articles Seasonal & Weather Car Care Tips
How to Put on Snow Chains: A Step-by-Step Guide
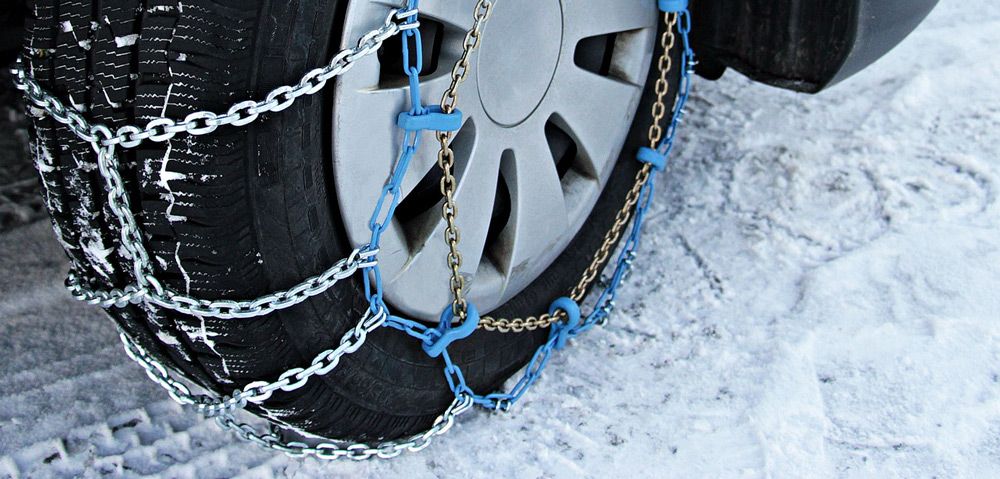
If you've never installed snow chains before, don't worry—this guide will walk you through the process step by step, breaking it down for those with little or no prior experience.
What Are Snow Chains, and When Do You Need Them?
Snow chains are metal chains fitted over tires to increase grip on snow or ice. They are typically required in mountainous or snowy regions during severe winter conditions. Many states mandate their use when conditions are dangerous or during chain control periods, so check road signage or weather alerts in the area you're traveling in. You may ask yourself "I have snow tires installed, do I still need chains?" A snow tire has deeper tire tread compared to an all-season tire, but conditions could still require chains be added for safety.
What You'll Need
- Snow Chains: Make sure the chains are the correct size for your tires. Check the packaging for the compatibility chart, or consult your vehicle's owner manual for tire size information.
- Gloves: Cold metal can be harsh on bare hands.
- Flashlight: Essential for low-light conditions.
- Tarp or Mat: To kneel or sit on while installing chains.
- Tire Jack (Optional): Rarely necessary but can sometimes help.
- Ice Scraper or Brush: To remove snow or ice around the tires if present.
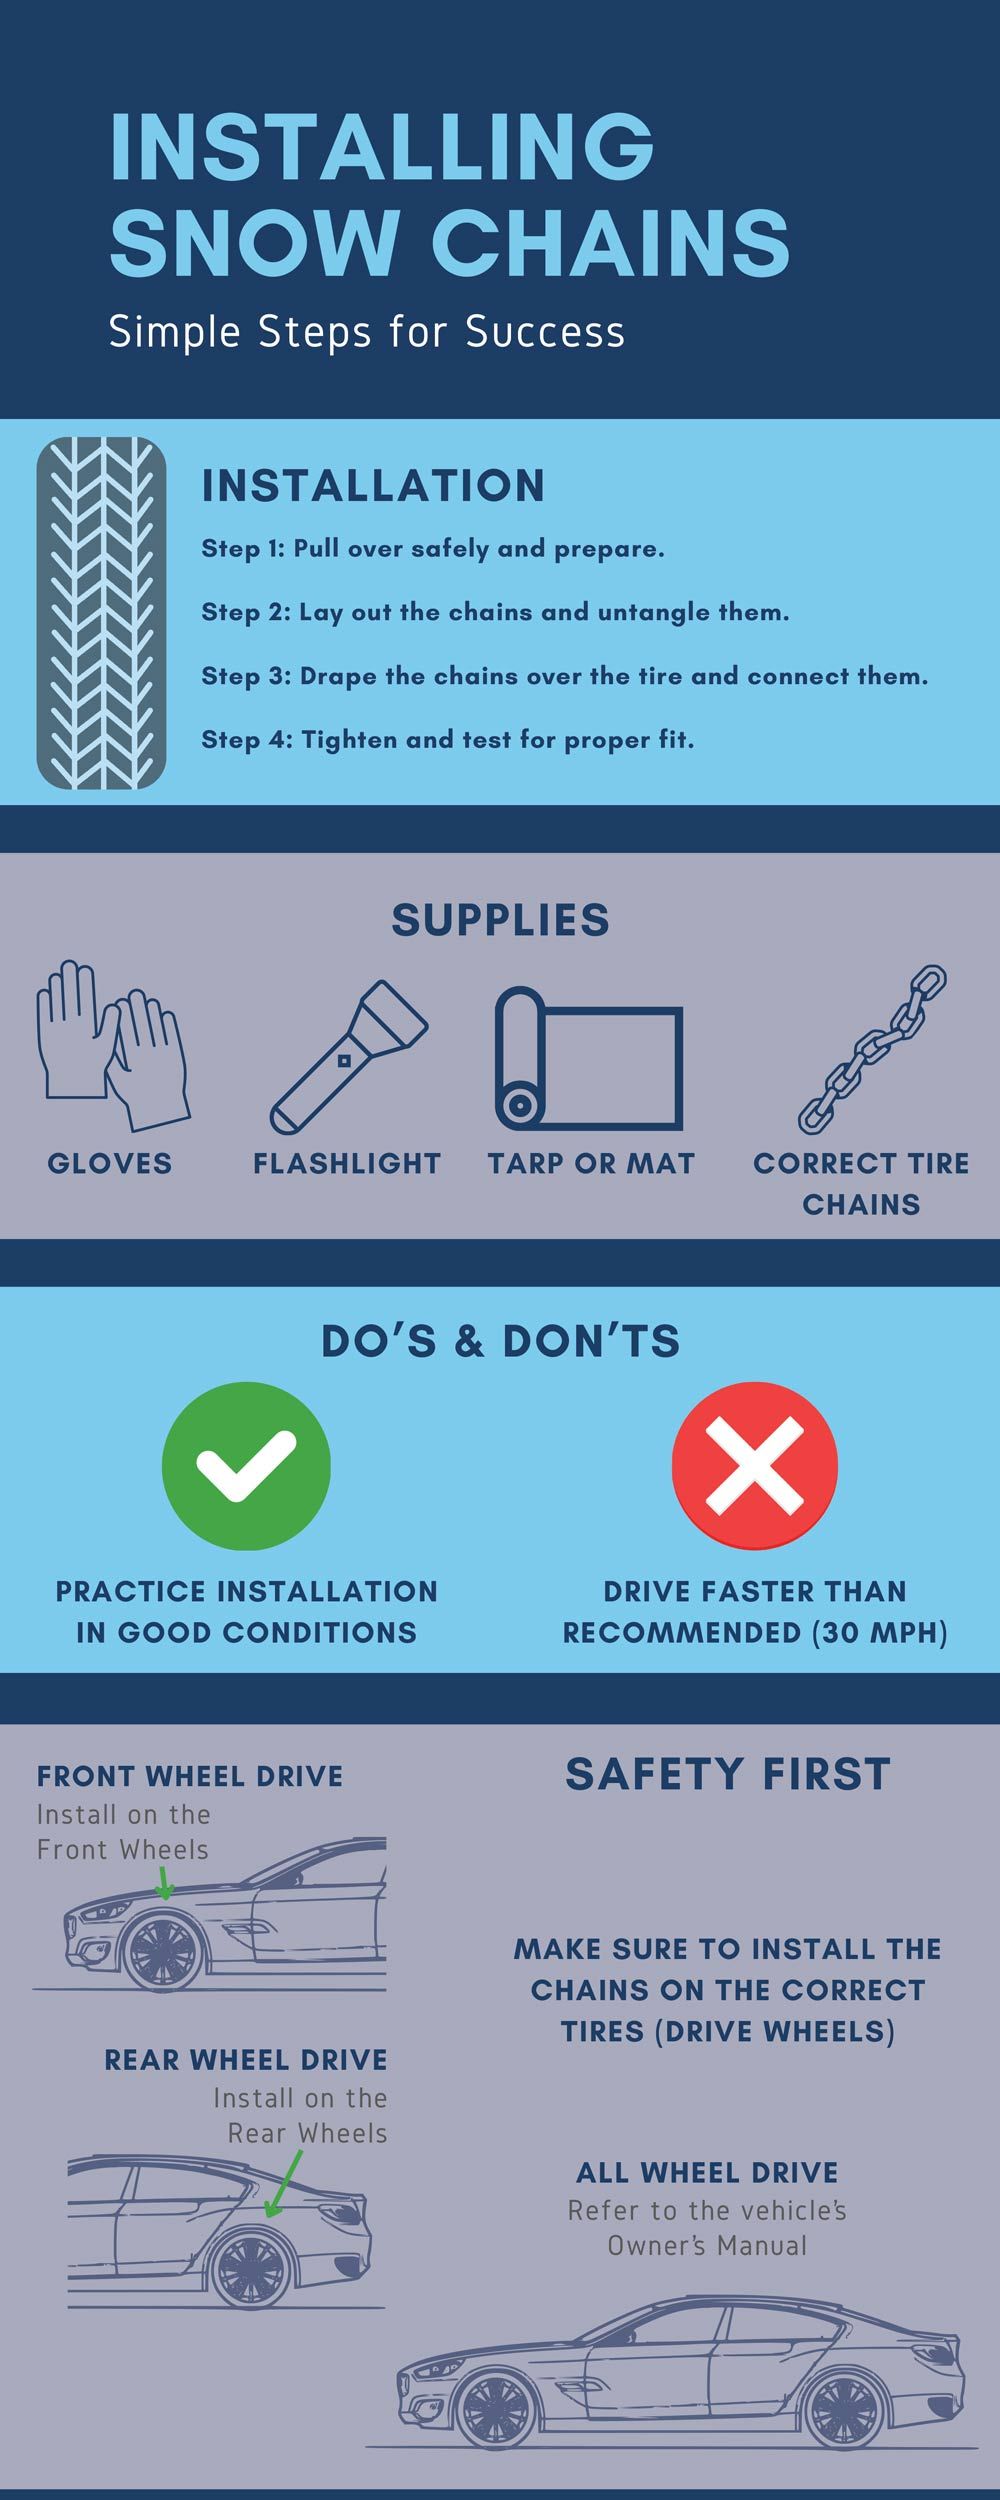
Step 1: Prepare for Installation
Ultimately, it is best to install your chains before getting caught in conditions where they would be required for safety, but it is also not recommended to drive on snow chains for longer than is needed. If you are unable to install your chains before starting your trip, it is understandable. Once you have done this a few times, you should be able to do this in the time it takes to defrost your windshield.
- Pull Over Safely: Find a flat, safe area to stop away from traffic. If you're on the side of a road, use hazard lights.
- Engage the Parking Brake: This ensures the vehicle won't move while you're working.
- Identify the Drive Wheels: You must install chains on the drive wheels (the wheels responsible for moving your car).
- For front-wheel drive cars, install on the front tires.
- For rear-wheel drive cars, install on the rear tires.
- For all-wheel or 4WD vehicles, refer to the owner's manual to determine which tires to chain.
Step 2: Lay Out the Chains
- Remove the chains from their storage bag and untangle them.
- Lay them flat near the tire, ensuring they are straight and not twisted.
- Position the chains with the smooth side of the hooks facing upward to avoid damaging your tires.
Step 3: Drape the Chains Over the Tires
- Pick up the chain and drape it over the top of the tire, letting the ends fall to the sides evenly. Center the chains over the tire with equal length on both sides as best you can.
- Make sure to space the cross-links over the tread of the tire evenly.
Step 4: Connect the Chains
- Inner Side Connection: Crawl under or reach behind the tire to connect the inner hooks or links. This part can be tricky, especially for larger vehicles. Make sure the chain is snug but not overly tight.
- Outer Side Connection: Move to the front of the tire and connect the outer hooks or links. Adjust as necessary so the chains are as tight as possible.
Step 5: Tighten the Chains
- If your chains come with a tensioner or rubber adjuster (a bungee cord could be used as well), use it to tighten them further. These tools keep the chains snug against the tire and reduce slack.
- Make sure there are no loose or dangling parts of the chain, as this can damage the inside of the fender/wheel well when driving.
Step 6: Test the Installation
- Drive Forward Slowly: Move the vehicle a few feet and stop to check the chains. Ensure they're secure and haven't shifted. If they feel loose, tighten them further.
- Repeat for the Other Tire(s): Follow the same steps to install chains on the remaining drive tire(s).

Important Tips for Beginners
Practice at Home: If you're new to this, try installing the chains in your driveway before heading out in bad weather. Familiarity with the process can save you stress later.
Check the Speed Limit: Most snow chains have a maximum speed limit (typically 30 mph). Driving faster can damage the chains or your tires.
Watch for Clearance Issues: Chains can be bulky, so ensure your vehicle has enough clearance to avoid damage to the wheel well or suspension. Some vehicles require low-profile chains.
Bring Extras: Carry an extra pair of gloves and a spare chain set in case of breakage.
Removing Snow Chains
- Find a safe, flat area to stop and engage the parking brake.
- Unhook the outer and inner connections.
- Lay the chains flat and drive off them slowly.
- Clean and dry the chains before storing them to prevent rust.
--
Putting on snow chains for the first time might feel intimidating, but with practice and preparation, it becomes manageable. If you're traveling to a snowy area and don't have experience, consider watching a video demonstration or asking someone at a tire shop for guidance. Safe travels, and always prioritize safety when driving in winter conditions! When arriving at your destination, remember to put your cover back on your vehicle. If you do not own a cover, you can find one with our vehicle cover finder, regardless of the make/model you own.